Below are tutorials on commonly used features of SpaSoftware and Odoo.
If you still cannot find the information you need, send your question using this
form.
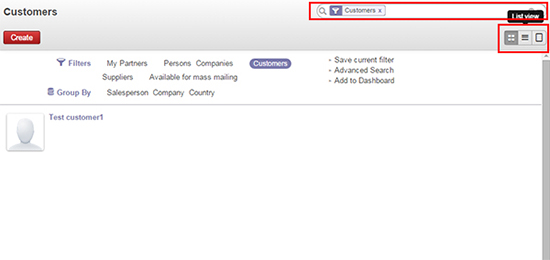
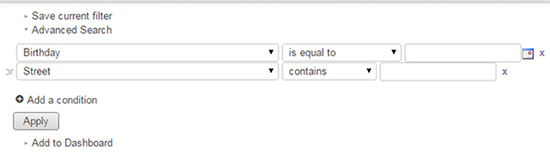
- Customer Advanced Search
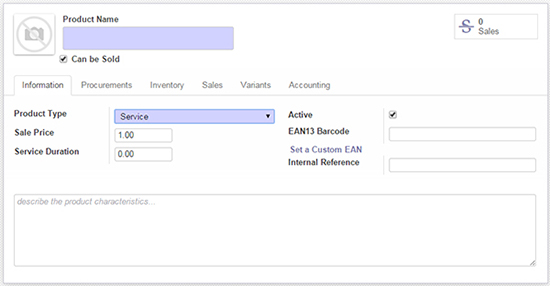
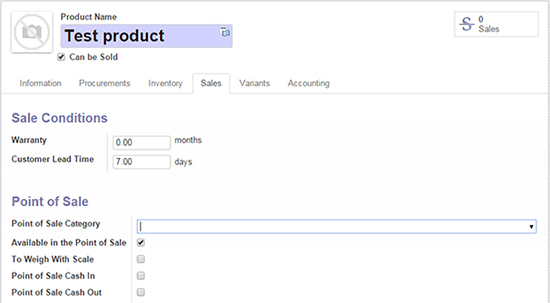
- Creating a Product (service)
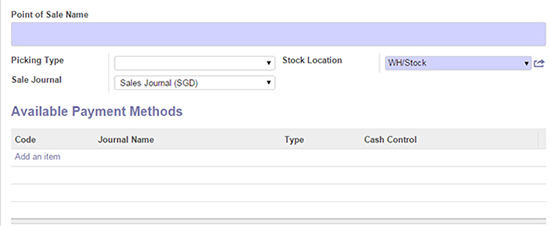
- Configuring a new POS
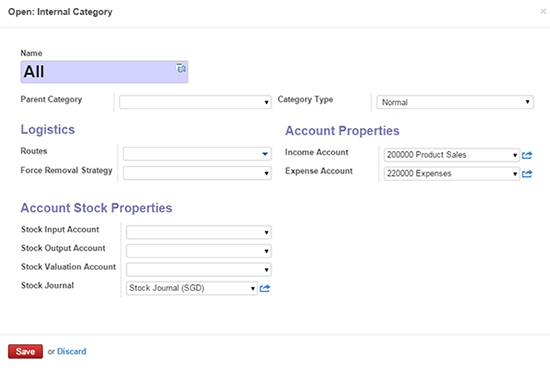
- Creating POS Product Categories